
I know that if you have seen a Star Wars party, then you have seen these pool noodle light sabers. They are easy and extremely inexpensive to make, so that's why everyone is using them.
I saw several different types of light sabers, but never saw a tutorial on how to make them.
One of the problems I kept seeing with most of the light sabers was that the bottoms were kind of bubbly. The tape wasn't smooth. I knew how to remedy that, and I wanted to share with you how to do it as well.

Your supply list:
Pool Noodle
Knife
Tape Measure
SHARP Scissors
Silver Duct Tape
Black Electrical Tape

You will want to measure your pool noodles and cut them in half using your knife. Then you can begin taping. The pictures, I hope, are self explanatory...so I'll let them do most of the talking.


Snip to the edge and overlap, all the way around each side.


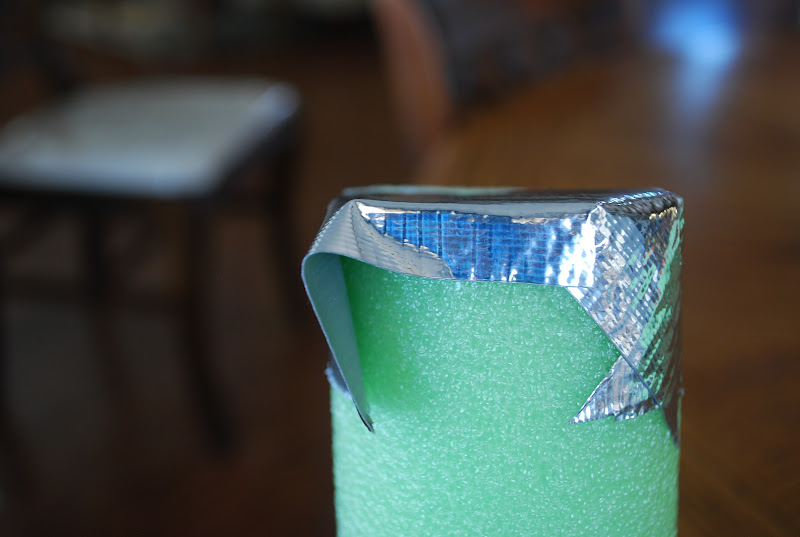


Smooth bottom of pool noodle.
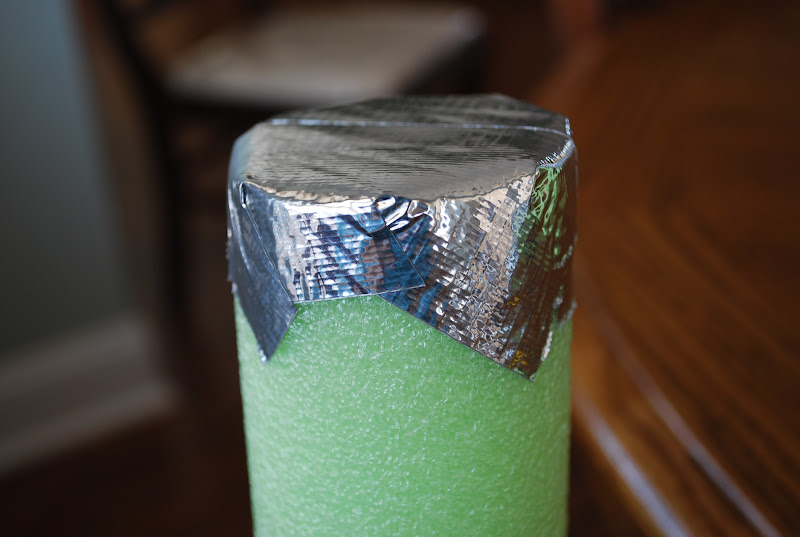
Turn noodle on it's side and begin taping around, making sure to keep it close to the bottom of the edge.

Make sure you keep the edges lined up when you go around.

Overlap just slightly for the next row of tape.

For mine, I used 3 rows of tape. That seemed to be the right amount for the hilt.

Next you will need to cut your black electrical tape. I cut multiple strips at 2 & 3/4" and just played around with the designs of the hilts...there is no right or wrong way. Just use your imagination, or look at a real light saber toy for inspiration...that's what I did:o)

And then you should end up with something like this. Easy and best of all..CHEAP:o)
Hopefully this helps you in your endeavor to make a great party favor without spending a whole lot of money:o)
3 comments:
i didn't cover the very bottom of ours. We wanted to take them to the pool and beach (huge fun having light saber fights in the ocean) so I wanted them to drain water out of both ends. So I just started wrapping the hilts at the bottom edge them upward.:)
Thank you so much for this I was looking for an easy way but still not make them look cheap or silly. I linked you in my post.
Thanks again :)
Wow! Made these just this morning for a party that began at 11 AM. Fast and simple, yet so effective and realistic. The kids *loved* them! Thanks for posting the idea and so many detailed photos. A fabulous project!
Thanks again! :)
Post a Comment